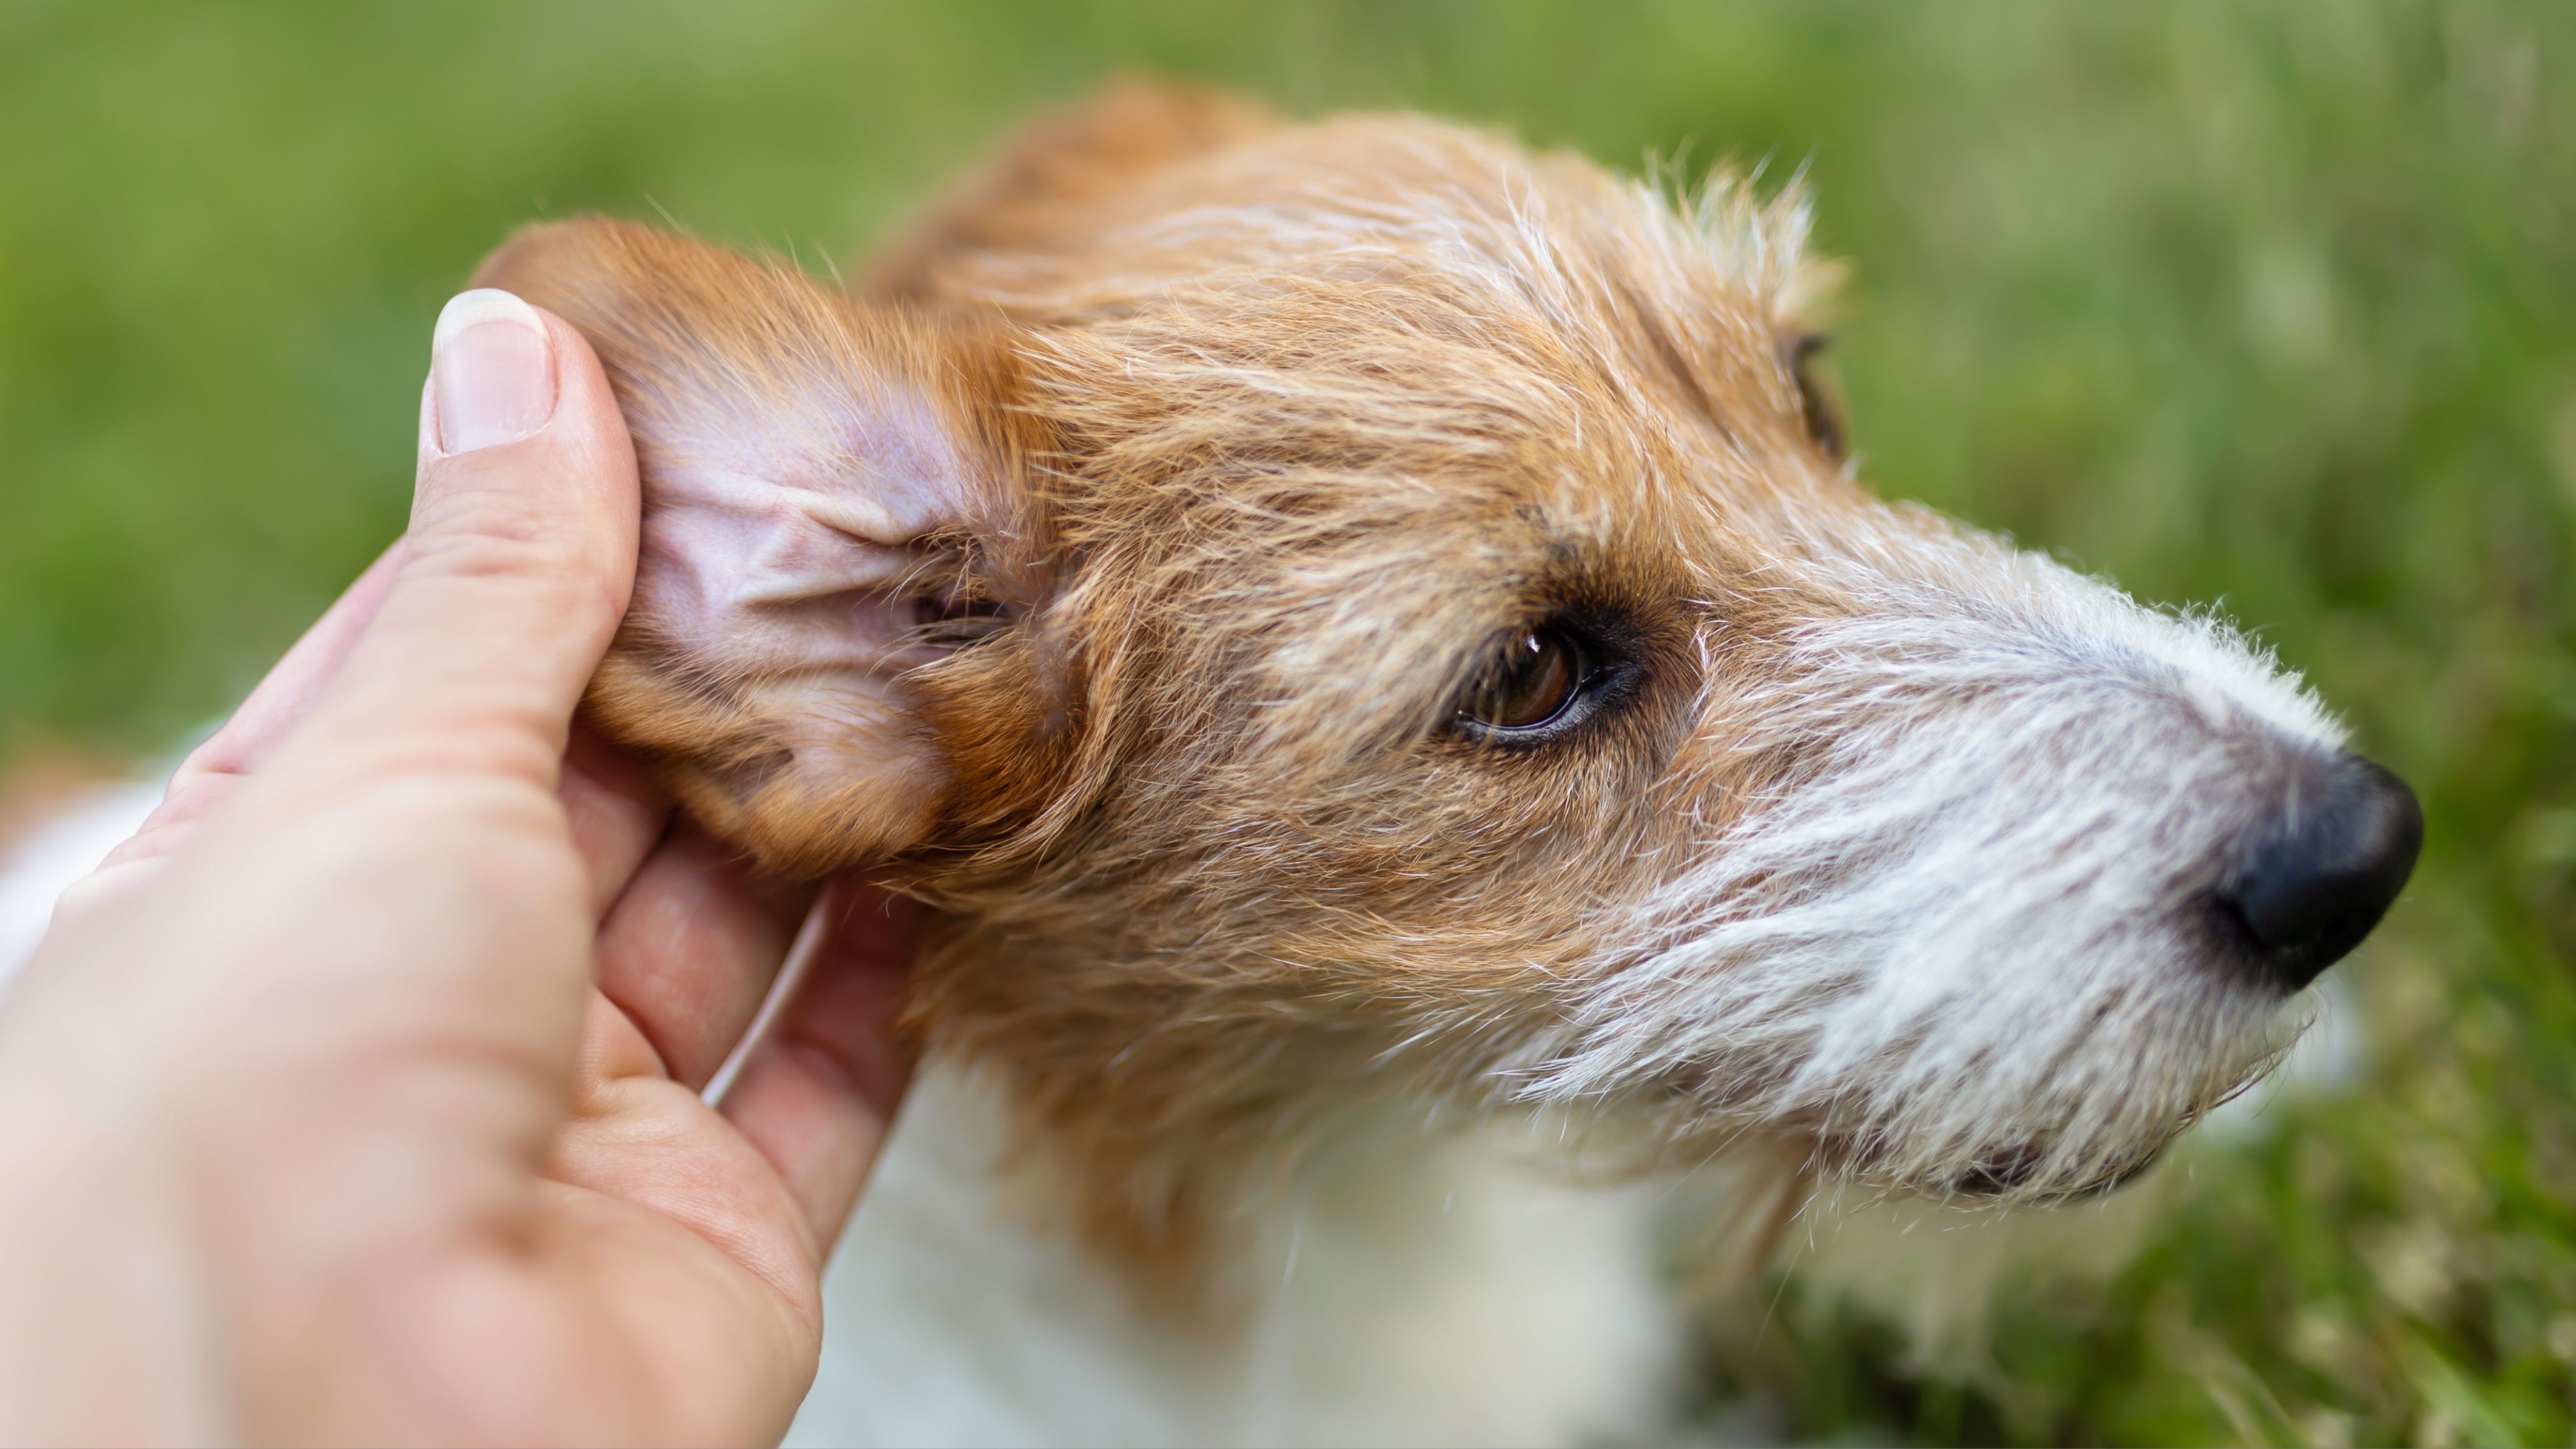
Trainer reveals how to get your dog used to ear care in 7 simple steps
It’s best to get your pup used to being handled before you really need to in an emergency.

As dog parents, we’re responsible for looking after their health. And, while it’s important that we respect our pups’ boundaries wherever possible, sometimes we do need to handle them to check that all is well — even if they might not want us to.
So, it makes sense to get your dog used to having their ears, eyes, and paws, for example, handled in advance, just in case there’s ever a medical emergency. In an ideal world, your pup would never have any medical emergencies, but it’s best to be prepared – from ear mites to unexpected injuries, you never know what could happen. So, grab some of the best dog treats and get started!
In a new Instagram post, certified professional trainer Juliana DeWillems, the owner at JW Dog Training & Behavior, has explained (with some help from her own dog, Lola) how we can get our pups more comfortable with ear care in particular – so, grab some of the best dog treats and let's get started!
1. Set up a comfortable space: “First, I made sure she had a comfortable non-slip surface to be on for the training,” explains DeWillems.
You want your dog to feel comfortable, stable, and at ease when you’re preparing for a training session that involves something intimate like inspecting or handling parts of their body.
2. Use high-value treats: DeWillems uses high-value treats to encourage Lola — for this session, she uses rotisserie chicken and cheese cubes.
3. Create a positive association with the bottle: “To start,” says DeWillems, “I paired the bottle with the treats to create a positive association with the sight of a bottle right off the bat."
Get the best advice, tips and top tech for your beloved Pets
4. Desensitize to body and ear touching: Whether you know how to clean a dog’s ear or you’re a novice, this is an important step: “When it came time to work on touching her ears,” DeWillems continues, “I actually started touching back by her neck and shoulders at first and then gradually working up to her ears, always pairing any touch with treats.”
She explains that this gradual movement up to Lola’s ears may have been what helped her the most.
5. Respect any ‘no’: DeWillems promotes listening to your dog and respecting their autonomy during these training sessions. So, if Lola said ‘no’ through her body language or behavior, she paused the session to give her a break.
6. Introduce medical supplies: Eventually, DeWillems begins to use a dry wipe, all while talking Lola through it. She praises Lola for her bravery and tells her how proud she is, and keeps an eye out for signs of stress as she does so. It’s a good idea to ensure that any medical supplies you do use are non-toxic and don’t cause any irritation or burning, which can cause your pup to form negative associations with ear care.
7. End with a party!: “As soon as we were done with the training, I threw a big party with a treat scatter so that we ended on a positive note,” explains DeWillems. Give your pup plenty of praise and treats and play with them once training has finished.
Hopefully, you won’t be in this situation yourself, but here’s what one dog parent did when she had to carry out emergency first aid on her dog’s ear: Five things I wish I had known before my dog ripped her ear.

Adam is a freelance journalist specialising in pets, music and culture, and mental health and wellbeing. He investigates and writes the large majority of news on PetsRadar, and collaborates with veterinary experts to produce informative pet care content.
Adam has a journalism degree from Southampton Solent University and a masters degree in Magazine Journalism from Cardiff University. He was previously senior editor at dog advice website DogTime.com, and has also written for The Independent, GoodToKnow and Healthline.
He owns two rescue cats, Bunny and Dougie, and has also previously had a rabbit, fish and Roborovski dwarf hamsters.
