How to make cat treats at home (easy recipe)
Here's how to make cat treats at home that your feline will adore.
Get the best advice, tips and top tech for your beloved Pets
You are now subscribed
Your newsletter sign-up was successful
If you want to learn how to make cat treats, I highly recommend this easy recipe. They're high in protein, low in fat, and are formulated by our expert vet Dr. Rebecca MacMillan.
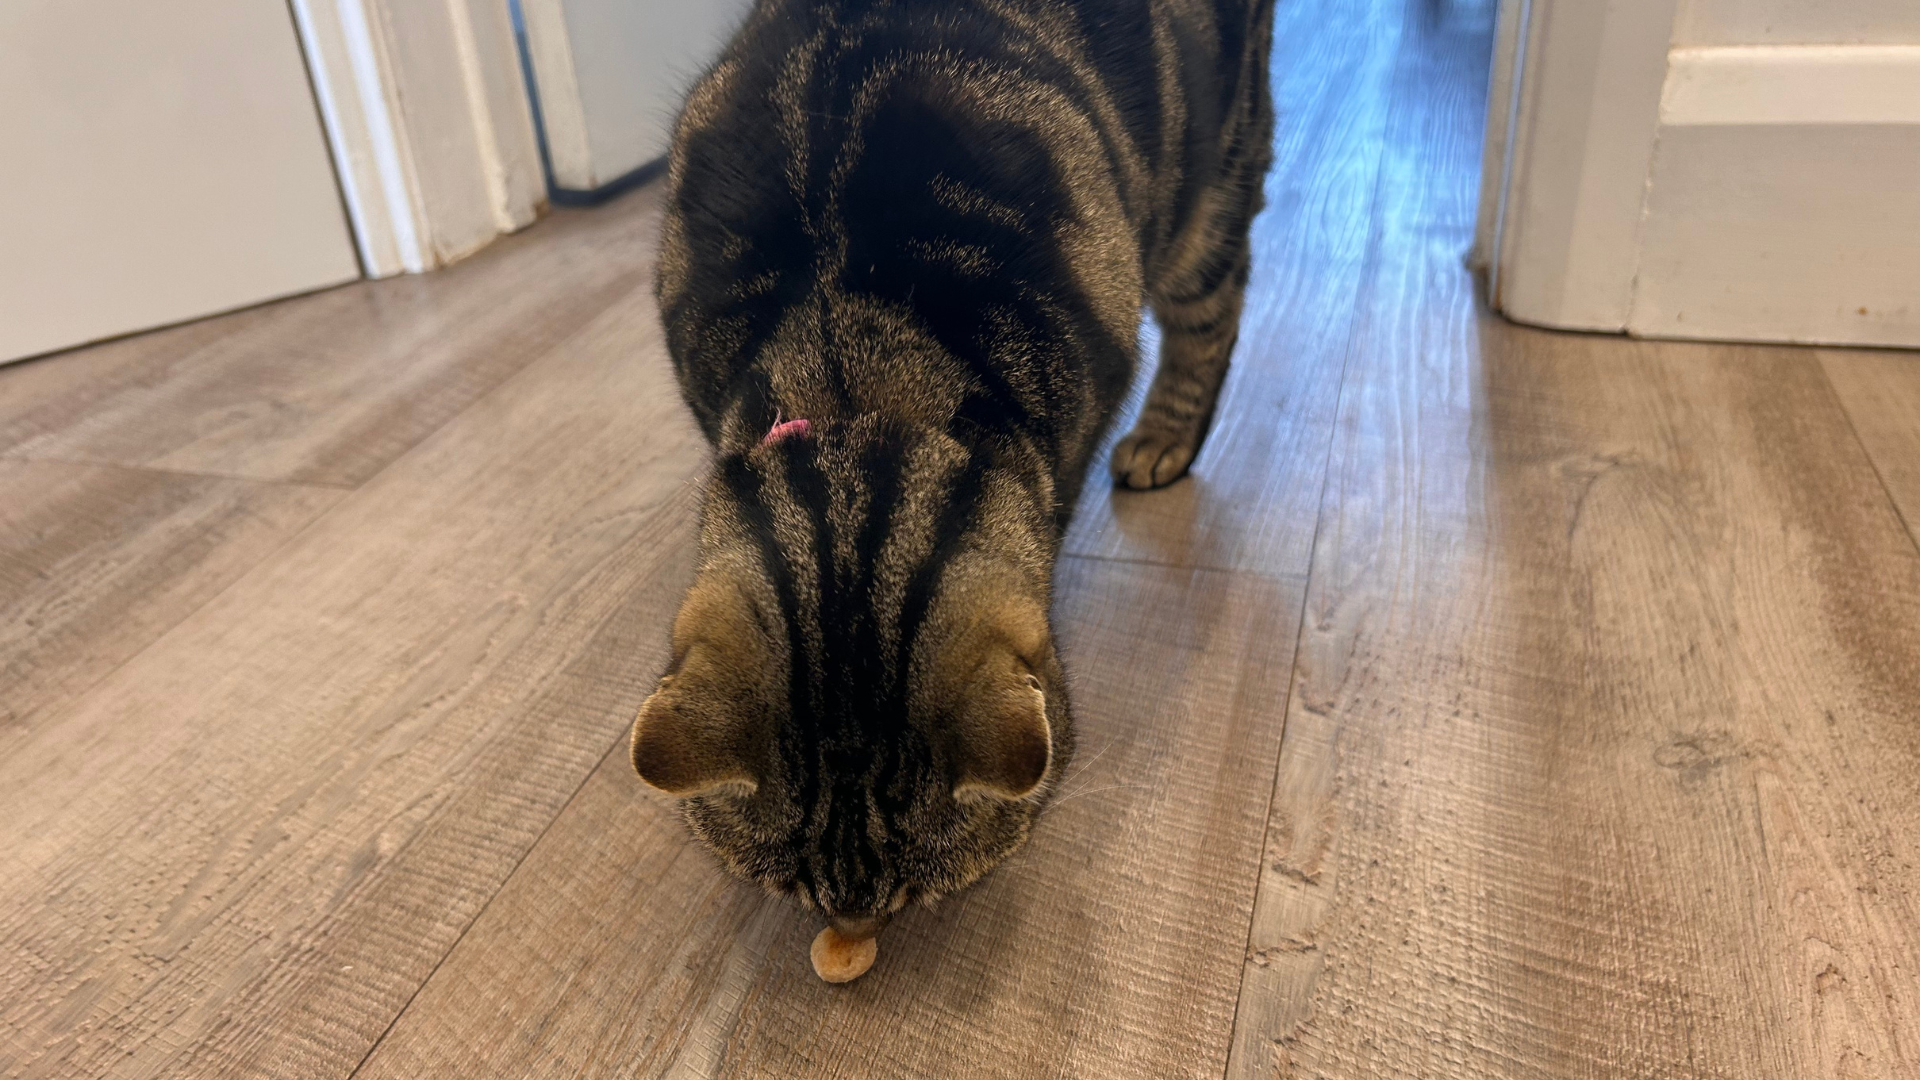
When it comes to baking, my pet peeve is having to buy 100 ingredients that I'll never use again, so I'm pleased that these only have four ingredients. As well as being nutritious and simple, they're a huge hit with my cats Chilli and Nala and I'm confident your felines will love them too.
The best cat treats don't have to be homemade; there are plenty of store-bought options that are just as good, but making them yourself can be a lot of fun. Baking your fur friend a delicious snack is a great way to show your love — and this recipe only takes 30 minutes in total!
Dr. MacMillan says: "Whichever type of treat you choose to give your pet, make sure that you offer it in moderation. Treats should not make up any more than 10% of your pet’s daily food intake. If your cat eats too many treats, they will be less likely to eat their normal complete cat food, which could lead to dietary imbalances and problems like weight gain. You should also take extra special care with cats that have health conditions like diabetes or kidney disease. Speak with your vet if you are unsure what you can feed your cat."
How to make cat treats
Tasty Tuna Treats
Ingredients:
- 6 oz. can of tuna in spring water (undrained)
- 1 cup of flour
- 1 cup of cornmeal
- 1/3 cup of water
Method:
1. Mix the ingredients together in a bowl.
Get the best advice, tips and top tech for your beloved Pets
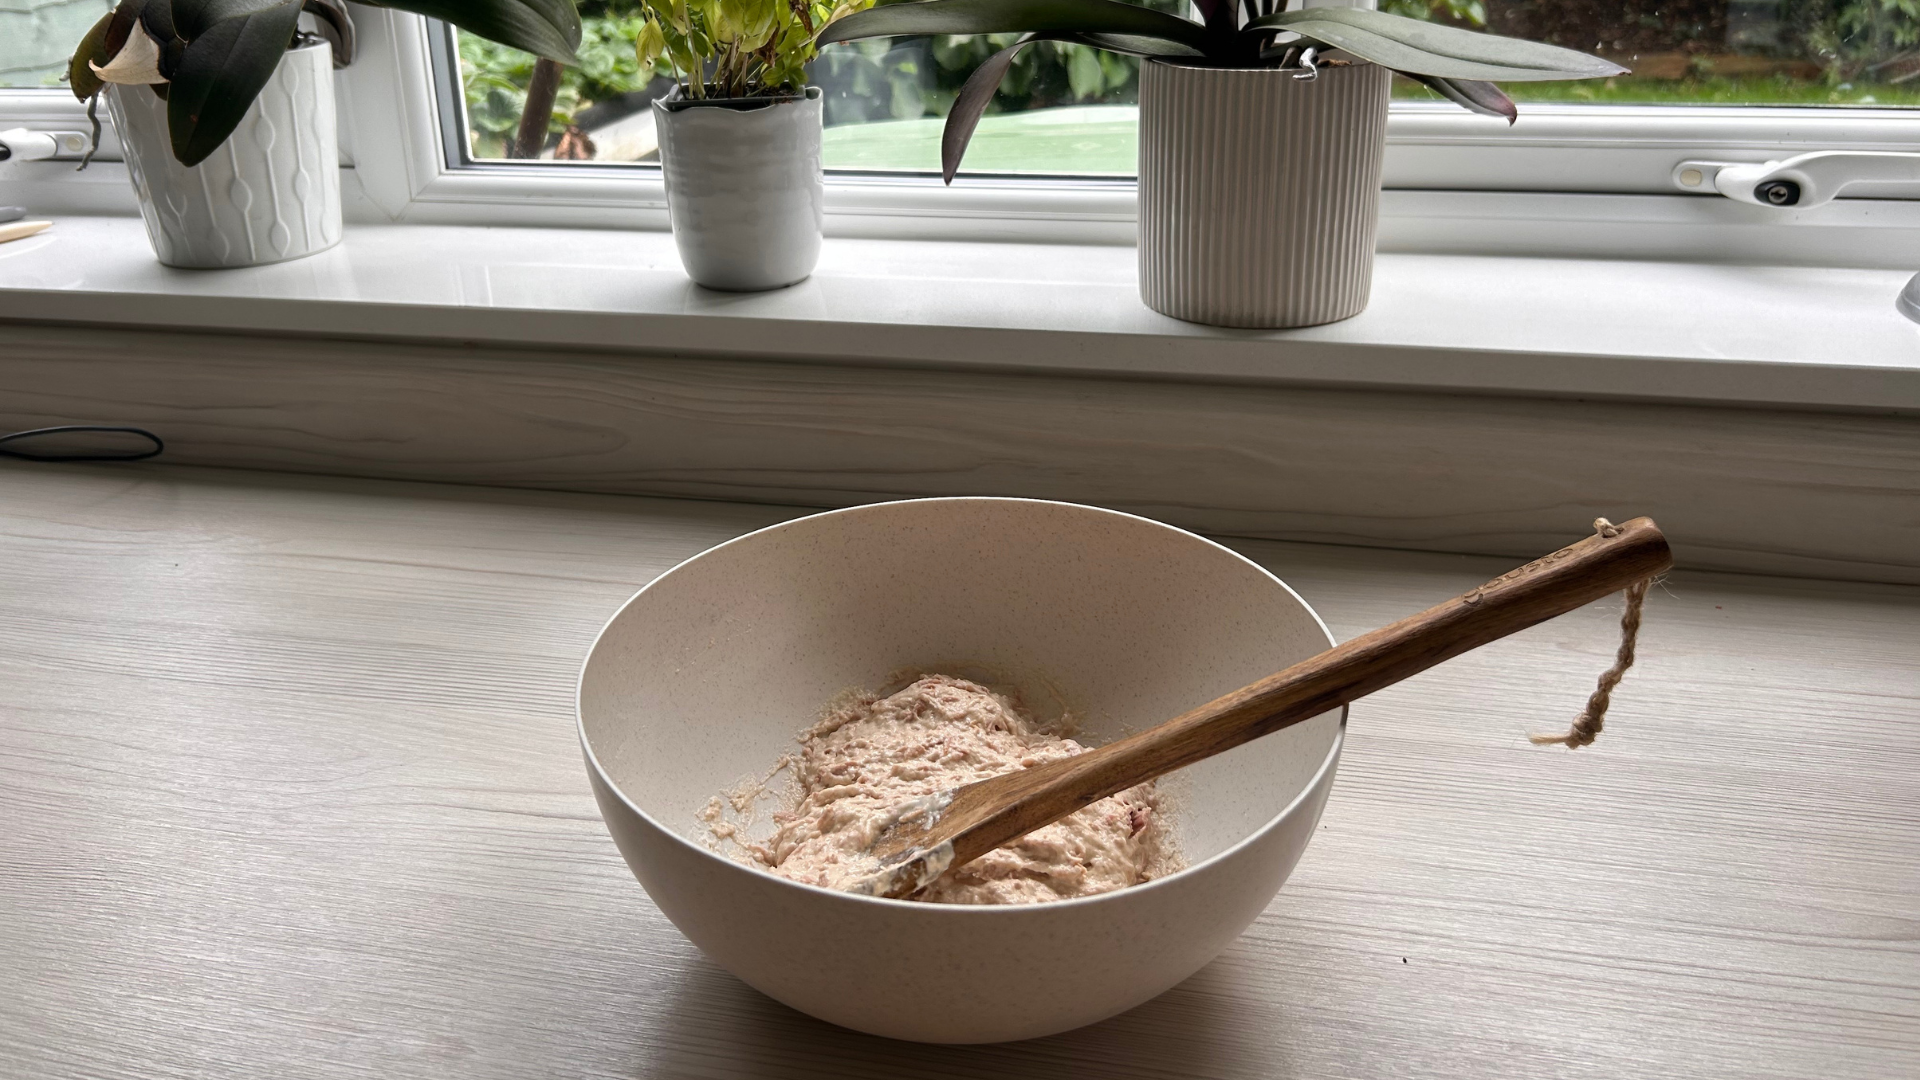
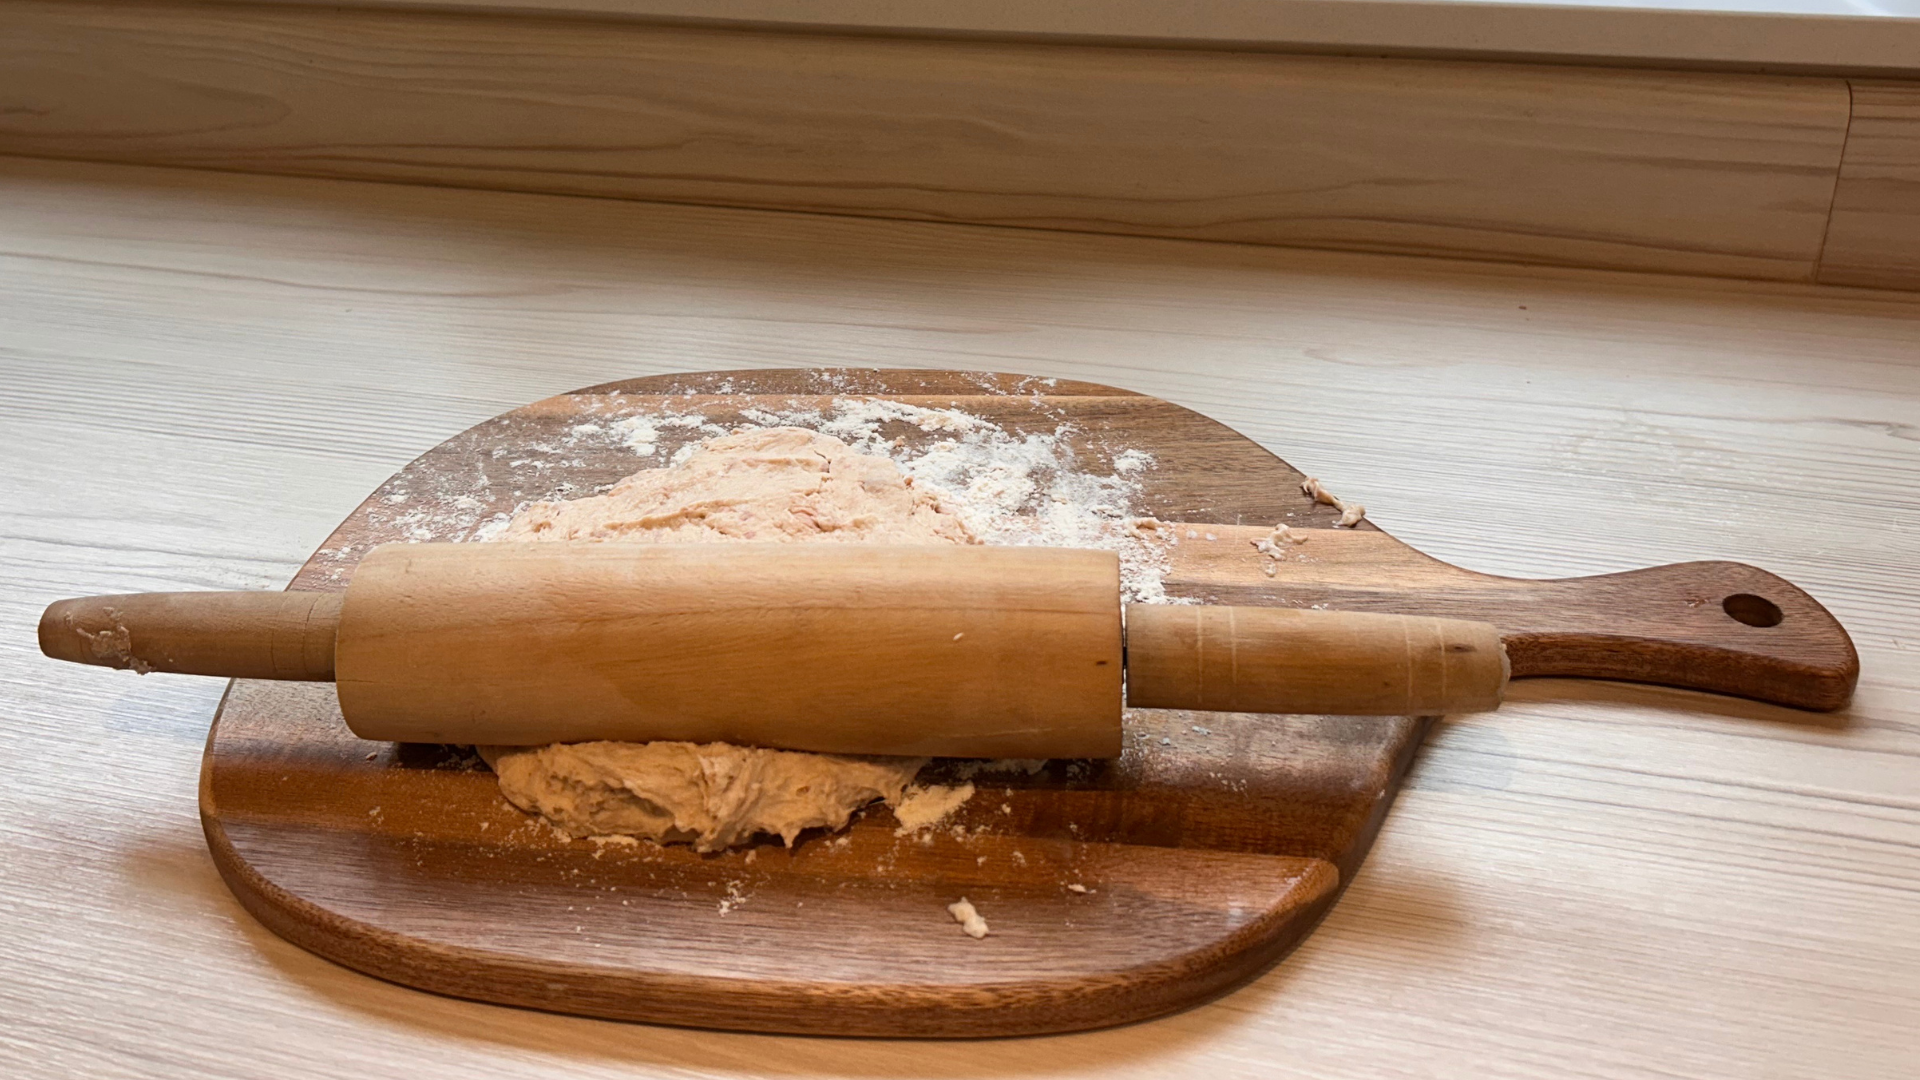
2. Once the mixture forms a dough, roll it to approximately ¼ inch thickness.
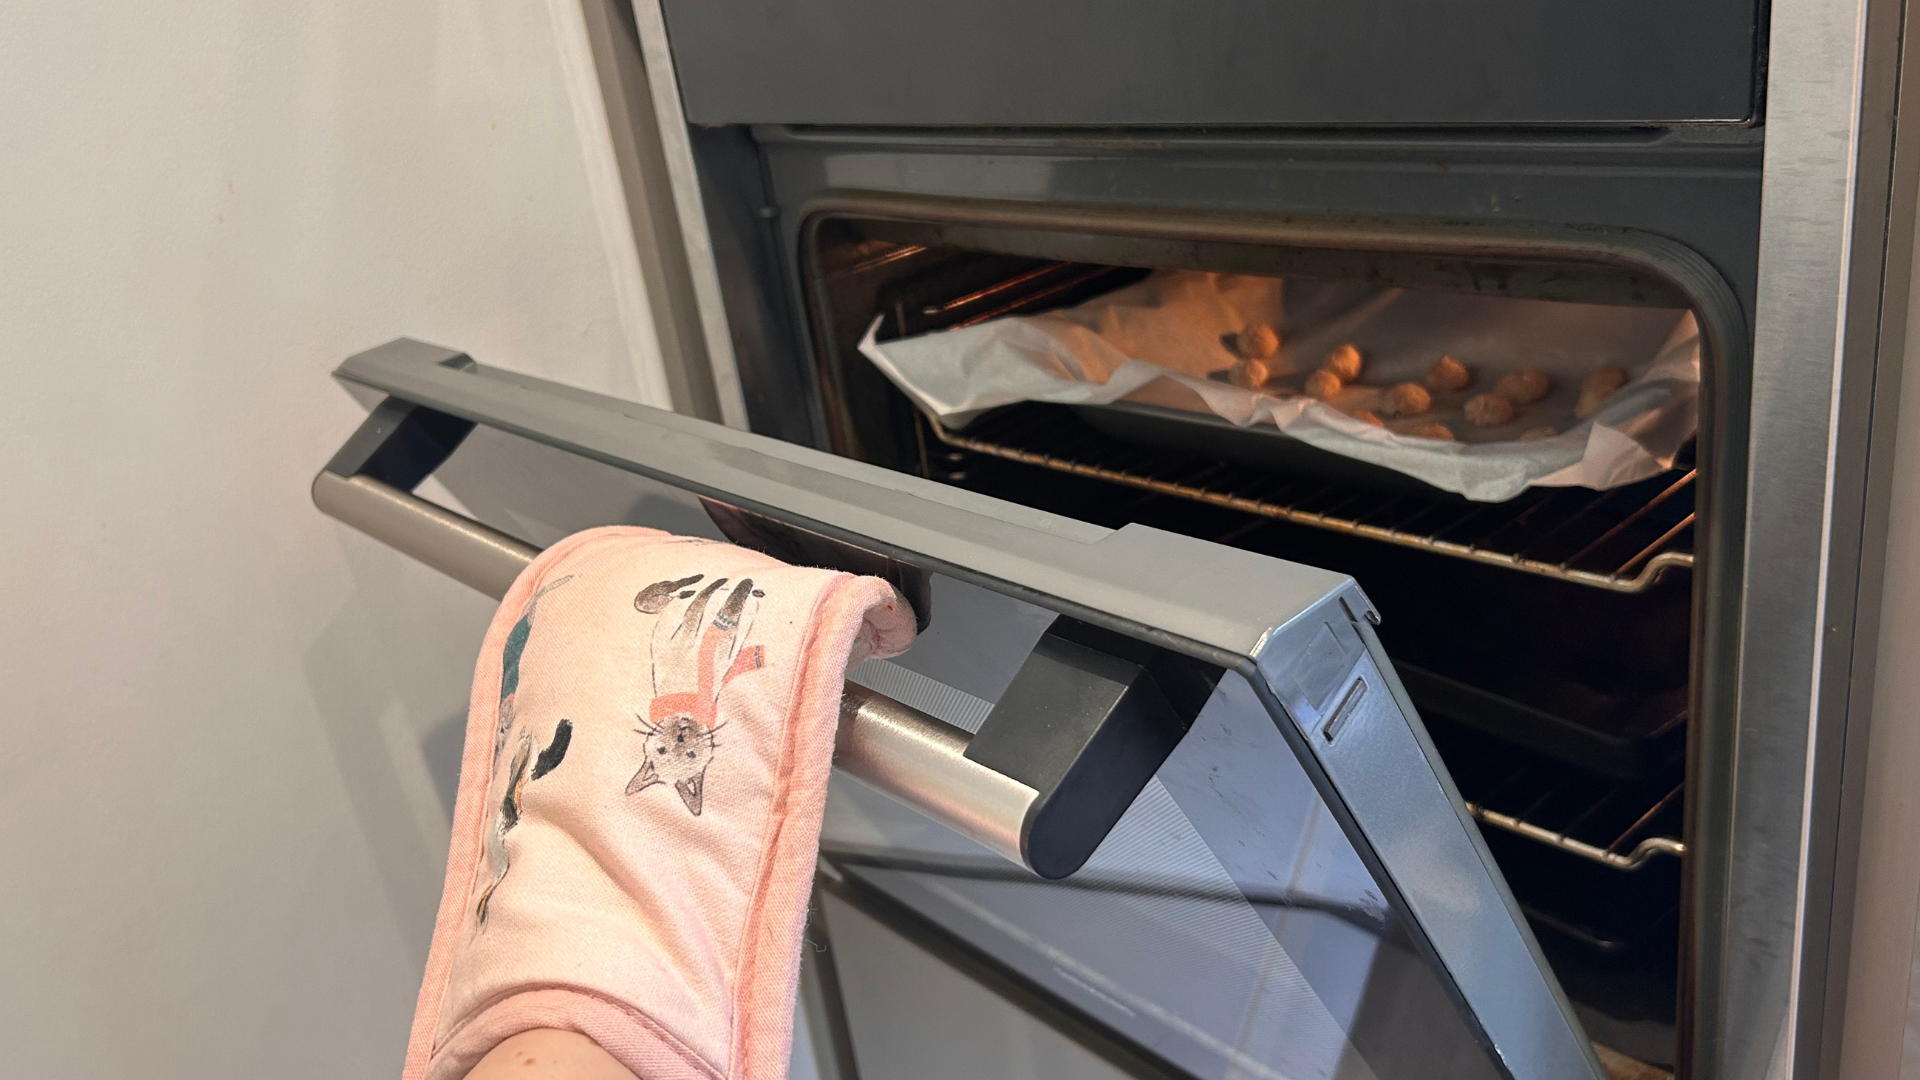
3. Slice into small cat-sized pieces and place on a parchment-lined cookie sheet. Mine had to be broken in half, so I recommend doing them a little bit smaller than I did in the picture below.
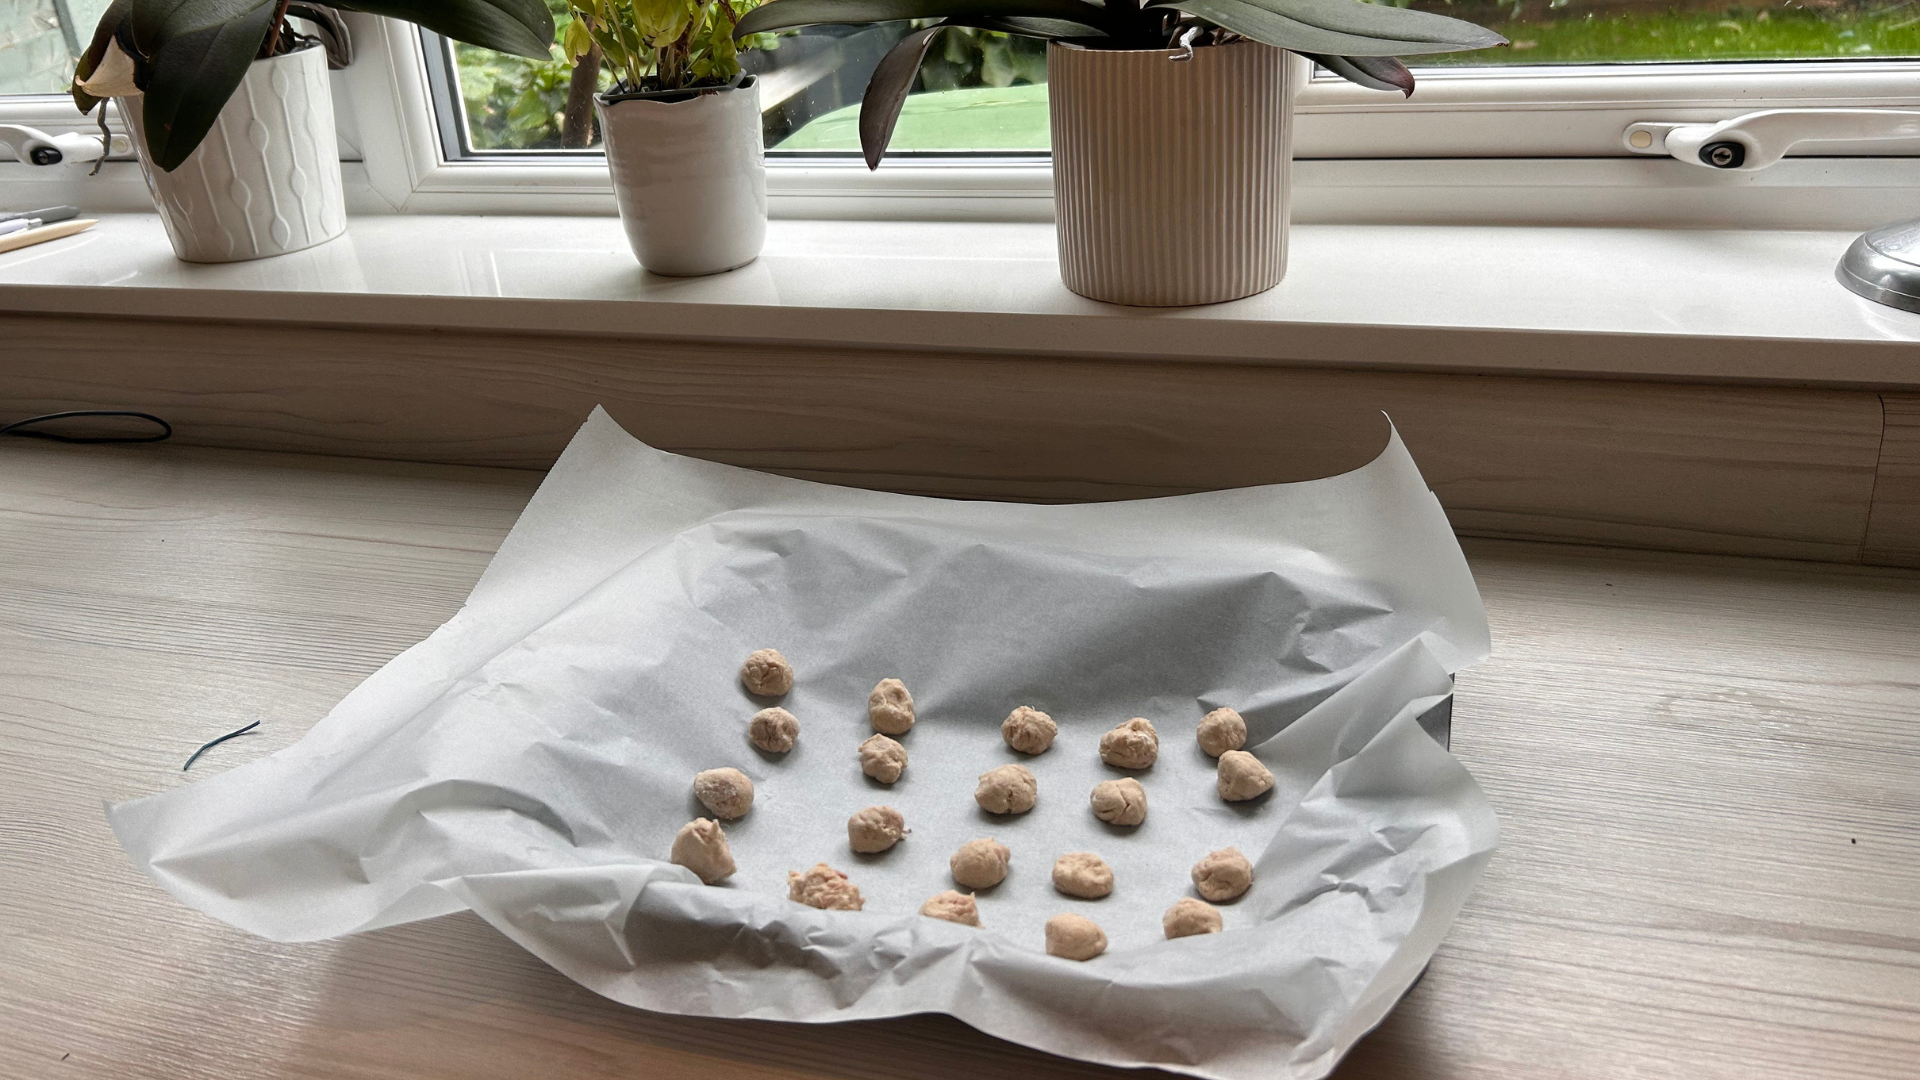
4. Bake at 350 degrees Fahrenheit until golden brown for approximately 20 minutes. Make sure they're not too hard!
How should you store homemade cat treats?
"Homemade cat treats should be stored in an airtight container, somewhere out of reach of your kitty! Keep them at room temperature, in a cupboard or pantry, and use them up within 14 days", says Dr. MacMillan.
What are the benefits of these homemade cat treats?
- High in protein: Tuna is an excellent protein source, helping with muscle repair and immune function.
- Low in fat: Tuna is also low in fat - perfect for cats on a low-calorie diet.
- Dairy-free: This recipe is easy for your cat to digest as it doesn't contain dairy.
- Delicious: Most cats can't get enough of fish, so your feline is going to love the taste of these treats.
What ingredients should I avoid when making homemade cat treats?
If you want to try another homemade cat treat recipe, Dr. MacMillan warns against the following ingredients:
- Onion
- Garlic
- Raisins
- Grapes
- Salt
- Sugar
- Butter
- Mayonnaise
- Cream
Homemade cat treats vs store-bought cat treats
You might be wondering if homemade cat treats are better...
Dr. MacMillan says: "There is not one type of cat treat that is necessarily better than another. If you choose treats from a reputable manufacturer, they should have a veterinary nutritionist on their team who helps to formulate the recipes. This will give you some confidence in the product.
"Store-bought treats also have the advantage of a long shelf life and don’t require the same level of preparation that home-made treats do. The advantage of homemade treats is that they will be freshly baked and could be more palatable to fussy cats. You will also have the satisfaction of creating them and watching your kitty chomp them up."
Enjoyed this? You might also want to read: How to make homemade raw cat food or soup for cats

Rebecca is a vet surgeon who graduated in 2009 from the Royal Veterinary College in London. She has a wealth of experience in first opinion small animal practice, having done a mixture of day-to-day routine work, on-call emergency duties and managerial roles over the years. She enjoys medicine in particular and she is proud to have recently achieved a BSAVA postgraduate certificate in small animal medicine (with commendation). She writes on various feline and canine topics, including behavior, nutrition, and health. Outside of work and writing she enjoys walking her own dog, spending time with her young family and baking!

Megan is a Staff Writer at PetsRadar, covering features, reviews, deals, and buying guides. She has a wealth of experience caring for animals, having grown up with dogs, cats, horses, guinea pigs, and more throughout her life. She studied BA Journalism at the University of Westminster, where she specialized in lifestyle journalism and was editor of Smoke Radio’s lifestyle website. Megan works alongside qualified vets and accredited trainers to ensure you get the best advice possible. She is passionate about finding accurate and helpful answers to your pet-related questions.
